Getting Started with AWS CLI

Installing, Configuring IAM User, and Essential EC2 Commands

AWS offers many services that can be accessed directly from the cloud. Instead of managing those services from the AWS Management Console, you can easily manage those AWS services from your terminal using this powerful tool, AWS CLI. You can deploy instances of EC2 or use and manage S3 storage or perform any other tasks using this CLI. 

The pre-requirements that this blog expects you to be aware of include: a basic understanding of AWS and its services-IAM and EC2. To follow along, an active AWS account is also required. In this blog, we will explain how we can 

Step1: Install AWS CLI

The first step is to install the AWS CLI. To date, the latest version is v2. You can download CLI from the AWS official website. For installation, visit this link for detailed instructions.

You’ll want to choose the installation method that suits your operating system, but in this blog, I’ll focus on demonstrating how to install the AWS CLI on Windows.

You must download and run the MSI installer for AWS CLI.  You can download this from this link: Download AWS CLI MSI. This will start downloading the MSI file.

After downloading, open the installer to install the CLI and follow the instructions. The installation process is simple and straightforward.

To confirm successful installation, run the following command on your terminal: “aws –version”

Step2: Create an IAM User to Manage EC2

After the AWS CLI successful installation, the next step is to create an IAM user. Let’s do that:

  • Log in to your AWS account and navigate to the IAM Dashboard.
  • From the left-hand menu, click on Access Management, then select Users.
 
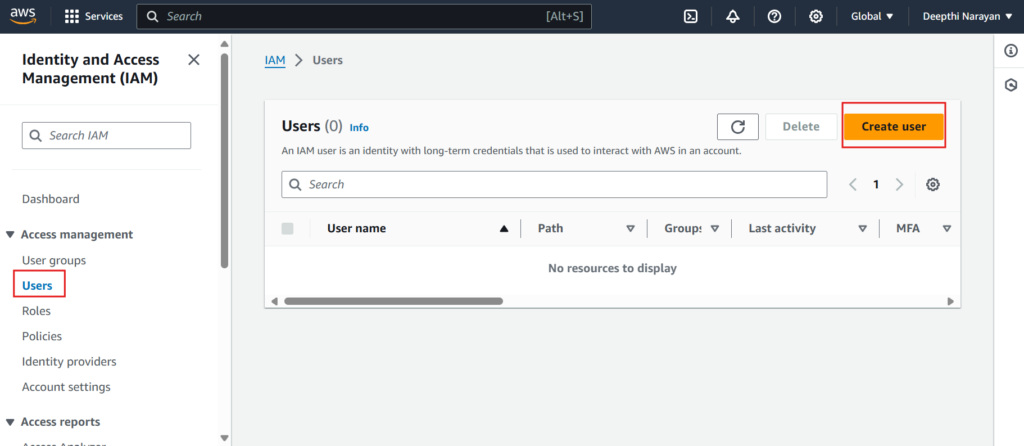
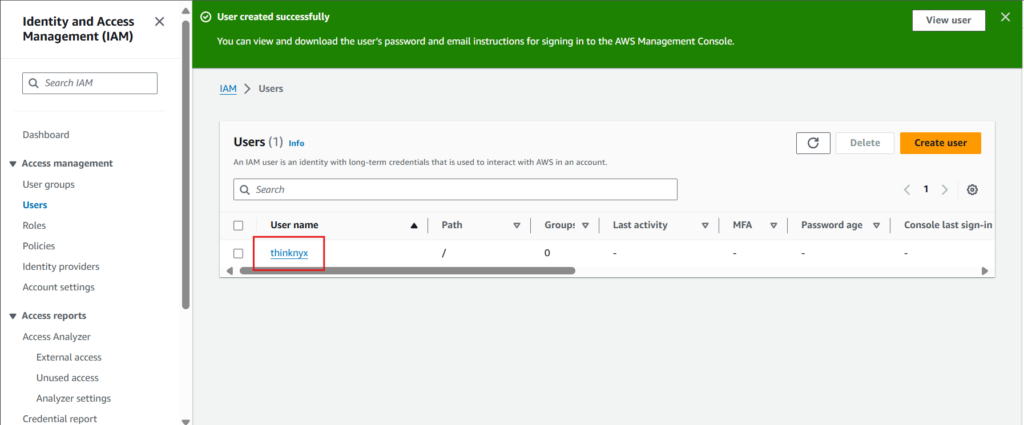
  • Click on Create user. You can provide any username. In this example, I have used the username as thinknyx. Click on Next.
  • Post that, choose the option- Attach policies directly. Type AmazonEC2FullAccess in the search bar, then select this policy and click on Next. AmazonEC2FullAccess lets the IAM user thinknyx have full access of EC2.

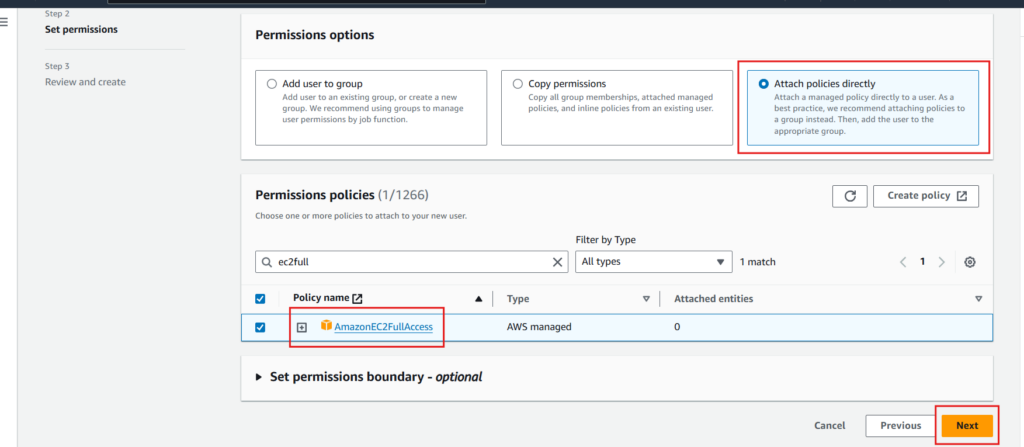
  • Finally, review your selections and click on Create user.

Step3: Generate access key

We have to generate access key for thinknyx user. This will allow you to access AWS services programmatically using AWS CLI. To achieve that:

  • Click on thinknyx user. It will open the user details.
  • Here, select Security Credentials tab.
  • Scroll down to the Access Keys section and select Create access key.
  • Choose the option – CLI. Enable the checkbox and then click Next.
  • Click on Create access key. This will generate your access key and secret access key.

It’s important to note that we need to keep the keys secure. You also have the option to download a csv file containing the keys. Click Done.

Step4: Configure AWS using access key

To configure AWS using your access keys, open your terminal and type the following command: “aws configure”

You will be prompted to enter your AWS Access Key ID and Secret Access Key, which you obtained in the previous step.

Then you have to select the region of your preference where our EC2 will be managed. I have used us-east-1. You can also specify the output format. I’d suggest to keep it as json for consistency. 

Now, your local machine will be configured to communicate with AWS through the CLI.

Step5: Interact with AWS Using Essential EC2 Commands

This command will list the EC2 instances: “aws ec2 describe-instances”

If you don’t have running, stopped, or terminated instances, this will not return any output.

To launch a new instance, use the run-instances command:

“aws ec2 run-instances –image-id ami-0ebfd941bbafe70c6 –count 1 –instance-type t2.micro –key-name thinknyx”

In this example, we are using the Amazon Linux 2023 AMI in the us-east-1 region, creating only one instance (–count 1), specifying the t2.micro instance type, and using the key pair thinknyx created in us-east-1.

The output of this command will include the instance ID, image ID, instance type, and the state, which should be pending initially.

If we now describe all the instances again:

“aws ec2 describe-instances”

You will see details of our running instance. To get specific information, for example, to get only the instance ID, you can use a query:

“aws ec2 describe-instances –query “Reservations[].Instances[].InstanceId”

This will list only the instance IDs of all instances.

If you have many instances, you can filter them based on specific attributes. For example, to filter by instance type t2.micro, use:

“aws ec2 describe-instances –filters “Name=instance-type,Values=t2.micro” –query “Reservations[].Instances[].InstanceId”


To terminate an instance, use the terminate-instances command with the instance ID:

“aws ec2 terminate-instances –instance-ids i-05def50135282b9ba”

You’ll see that the instance state will change to shutting-down.

The same can be verified in your AWS EC2 console, too.

This is how you can manage your EC2 instances using the AWS CLI. To learn all the available EC2 commands, refer to the AWS CLI EC2 Command List.

Summary

In this blog, we covered the basics of installing the AWS CLI, creating an IAM user, generating access keys, configuring the AWS CLI, and managing EC2 instances using essential commands.

By – Deepthi Narayan

Leave a Comment

Your email address will not be published.